Your Cart is Empty

When it comes to saving money and gaining a sense of pride, there’s nothing better than DIY! Do It Yourself hasn’t become a cross-industry craze for nothing.
That being said, the most experienced flooring DIYers will tell you that jumping headfirst into renovations without the proper preparations is a recipe for disaster. There’s no way around it: you’re not a flooring professional. You can’t walk into the installation process like you totally know what you’re doing just yet. Plus, you’ll need to prepare the physical location too!
If you’re feeling daunted now, don’t—E Hardwoods & Flooring is here to help. While we don’t offer flooring installation ourselves, we’re sellers of everything from hardwood flooring to waterproof wood-look flooring, and we sure know a thing or two about how our products work. Read on for some DIY prep tips from the pros.
Every flooring type installs differently, so the best thing that you can do to make sure your DIY goes according to plan is research how your flooring installs. There are plenty of online resources for you to use, ranging from articles to videos to picture-based instructions.
No matter your learning style, the internet can cater to it. In this case, there’s no such thing as too much preparation, as every DIYer (and even every pro!) has a mishap or a success you can learn from.
Flooring is designed to be laid on a flat surface—and in the flooring industry, that surface is the subfloor. It’s one of many terms you’ll need to know for a successful DIY flooring job.
If your subfloor is not completely level, fill or sand applicable areas before continuing. The Spruce has a lovely article on how to do this. Failure to properly prep the subfloor can result in a finished job that’s visibly uneven—and you certainly don’t want your money to go towards something that makes you cringe every time you step into the room. For a variety of flooring types, too, a level subfloor prevents squeaks and groans underfoot.
This is important to understand, as it directly relates to what sort of prep work you’ll need to do before you start your project. Age-related settling processes or poor pouring in the case of concrete can lead to an uneven subfloor; in these cases, you’re probably good to go about fixing the problem yourself.
But if you spot signs of pest damage, rot, or foundation problems—all of which can cause a lopsided subfloor—you may need to call in an engineer before you begin. You might just have stumbled upon a problem that goes far deeper than your flooring!
Concrete, unlike other subfloor types, is porous. This means that it can harbor moisture that can prove problematic to certain flooring types, as we covered in our hardwood flooring blog. So before you slap down your favorite line of solid hardwood flooring, you’ll need to check in with what’s beneath your feet currently to make sure it won’t sabotage your efforts down the line.
Two Make a Home, a blog founded by a pair of DIY aficionados, states that subfloor moisture levels should be between seven and nine percent. A moisture meter can help you take measurements—but make sure you’re buying one for the subfloor you’re dealing with.
You’ve measured and measured and measured again—but always buy a little extra flooring. This isn’t in case you’ve miscalculated, but in case you make a mistake while installing that requires the sacrifice of a board. It happens!
For more on what to do if you make a mistake during your project, check out our solid hardwood flooring blog.
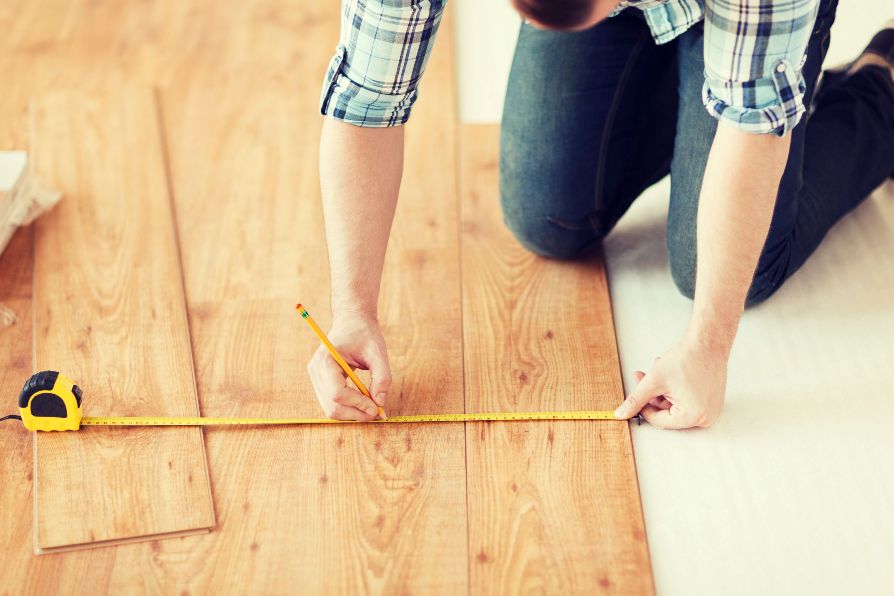
Though cuts are an important part of preparing some flooring types, such as vinyl flooring, for installation, one wrong move can mean you lose a whole plank or tile. Bring your awesome measuring skills back that we mentioned in the previous step and be as scrupulous as possible.
If you’re looking for amazing solid hardwood flooring or vinyl flooring, you’re on the right site! Buy hardwood flooring online here or contact us with your questions.